You’ve often seen videos on YouTube channel showing YouTubers record screen activity on PC or laptop once they play games, teach programming or other activities.
Indeed, so as to provide top quality recording, additionally to edit the video first, YouTubers also use third party applications to record their activities on a PC or laptop. The question now, does one want to emulate these YouTubers by recording activity on a PC, then pass it on channel YouTube their own?
Here we give the trick for you. You don’t need to use complicated third applications, because this point we’ll provide how to record screen in Windows PC easily without using third-party applications. Want to understand how? Check it out.
Read More: How to Take Screenshot on PC Or Laptop
Record Screen in Windows 10 PC Without Applications
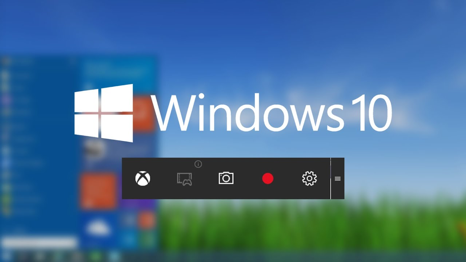
The first thing to try to do is, find the Xbox within the search bar or Cortana. If it appears, tap the application. Further, once it opens, press the button on the keyboard Win + G.
Now a popup will appear within the bottom of the screen that displays a range of settings like Screenshot, Start recording, and more.
To start recording your activity when operating a PC, just press the red button or Start recording. Want to incorporate your voice? A checklist Record Mic and your voice will automatically participate during this recording.
When it’s recorded, by default the recordings are going to be stored in C / Users / Videos / Captures .
Also Read: Guest posting sites
You can access it by clicking the beginning button or Win+R and typing “psr.exe” and hitting enter.
This tool will record each mouse-click and reserve it as a picture, then compile everything into HTML (more specifically, a Microsoft MHT file). However this is often not a video capture tool. As far as I know, there isn’t one built-in to Windows.
You may check out downloading the free VLC player. With VLC, you’ll use your desktop as a capture device:
- Click Media
- Click Open Capture Device
- Choose Capture Mode: Desktop (at now, you need to line a better FPS) then stream it to a file:
- Click the arrow icon to the proper of play, and click on “Stream”
- Leave the default “Source: screen://” and click on “Next”
- Select “File” within the dropdown and click on “Add”
- Choose a filename then click “Next”
- Choose your encoding then click “Next”
- Click “Stream”
This is quite enough to record screen in windows PC without using any Third Party Applications.
Comment Below If you’ve got the other suggestions.